Using GitHub Actions to add Labels Automatically

Hi, sometimes I write
An auto-labeler in GitHub is a handy tool that automatically applies labels to issues and pull requests, following specific guidelines you set. It's a great choice to boost your team's productivity, keep label assignments consistent, minimize mistakes, automate essential workflows, improve your ability to find and organize items and ensure your project can smoothly grow while making life easier for both contributors and project managers. By simplifying and streamlining the labelling process, GitHub's auto-labeler enhances collaboration and project organization.
Setting up an auto labeler
On the workflows(actions tab)/ marketplace page, search for the GitHub action called
labeler. You can also click the image below, it should redirect you to the repository.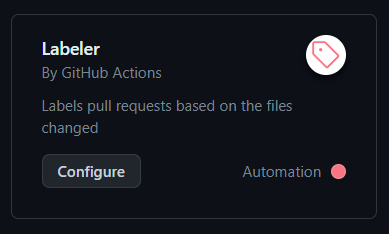
Set up this workflow by clicking on
Configure. A.ymlfile should appear. Rename it tolabeler.yml.Commit the file. The code structure should look something like this:
 # This workflow will triage pull requests and apply a label based on the
 # paths that are modified in the pull request.
 #
 # To use this workflow, you will need to set up a .github/labeler.yml
 # file with configuration.  For more information, see:
 # https://github.com/actions/labeler

 name: Labeler
 on: [pull_request_target]

 jobs:
   label:

     runs-on: ubuntu-latest
     permissions:
       contents: read
       pull-requests: write

     steps:
     - uses: actions/labeler@v4
       with:
         repo-token: "${{ secrets.GITHUB_TOKEN }}"
Now we need a file to write labels. create a
.github/labeler.ymlfile. There are two labeler files here. one in.githubfolder and another in.github/workflowsfolder.Visit it's page on Marketplace. They have some great examples on how write labels for different folders.
 label1:
   - folder1/**

 label2:
   - folder2/subfolder1/*
This is a basic example. The
/*indicates that changes made in that very folder or subfolder should be marked withlabel2. The/**indicates that for any changes made in that folder or any subfolder inside that folder,label1be added.
Some possible errors
Make sure the two folders are
.github/workflows/labeler.ymland.github/labeler.yml.The
*symbol is basically like passing a folder. Make sure to use it as per folder structure. For files in a subfolder, add a**/*.Avoid writing duplicate labels. If you want to give the same label to different files, prefer this:
 common label:
   - folder1/**
   - folder2/subfolder1/*
   - '**/*.txt'
   - '**/file.md'
   - '**/README.md'
Thank You!


